
Care Instructions
Installation Care Instructions
Installation care instructions and references for LEGEND Paint Protection Film
“To ensure optimal results during installation, it is important to read the entire manual from Helmet Films. This film boasts industry-leading properties that will help maintain the appearance and value of a car when properly installed. We recommend sharing these care instructions with car owners.
1. Before Installation (Surface Preparation)
- To ensure a clean and contamination-free installation of the Paint Protection Film (PPF), it is crucial to thoroughly clean the surface of the vehicle before applying the film. We recommend using a high pH detergent mixed with water to effectively remove oil, dirt, grease, and bugs.
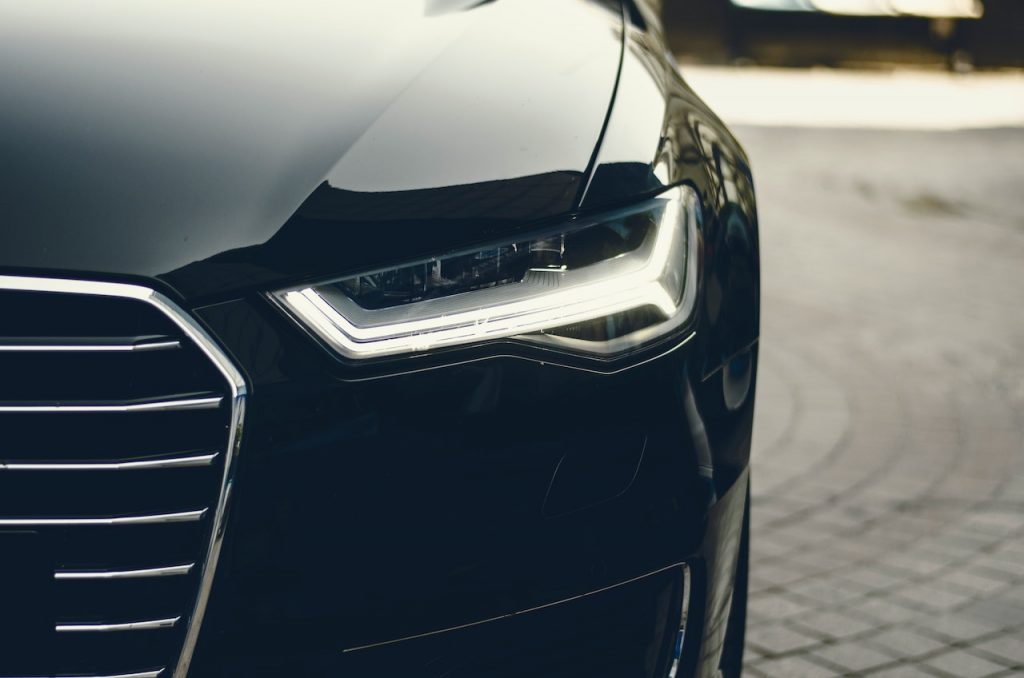
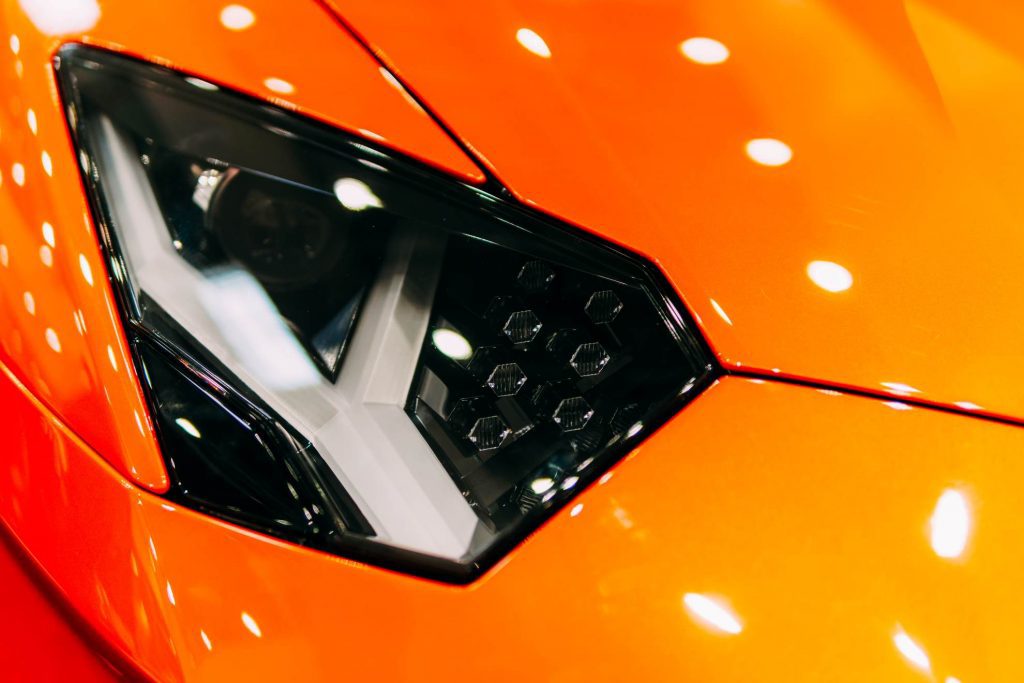
- Clean the entire area where the PPF will be applied, including the hood, fender, and headlights. To further remove dirt and debris, use a high-pressure washer and/or pressurized air to clean the seams and openings around the headlights, grilles, fog lights, etc.
- Next, use a cleaning clay bar/pad/mitt or auto scrub to remove any paintwork defects that were not removed during the previous cleaning steps. If additional degreasing is needed, use isopropyl alcohol to remove oil deposits and wipe dry.
- Finally, use pure isopropyl alcohol and lint-free wipes to clean the edges of the area where the PPF will be applied to ensure a strong surface contact and prevent contamination.
2. Tools and Mounting Solutions
Tools
- Helmet Squeegee – for washing the vehicle & film installation
- Helmet knife and blade (carbon steel or ceramic)
- Helmet 32-ounce spray bottle (or larger)
- Heat gun (optional)
Mounting Solutions
- To achieve optimal results during the installation of Paint Protection Film, it is recommended to use distilled or purified water to avoid any potential damage caused by dissolved minerals found in tap water. It is best to use water at room temperature, around 24°C (75°F).
- Use a neutral soap such as Johnson Baby Shampoo or any other soap without added moisturizers, as additives can leave hazy traces under the film.
- When it comes to soap solution, the amount to be used should be adjusted depending on the temperature, if the air (car surface) temperature is between 15°-23°C (60°-74°F) use 2-3 drops of soap per 32-ounce spray bottle, and if the air temperature is between 24°-32°C (75°-90°F) use 4-5 drops of soap per 32-ounce spray bottle. Some other PPF products may require more soap during installation, however, using more than the recommended amount for Helmet PPF may cause it to slide excessively and compromise the adhesion. Use the recommended soap levels for the best installation results.
3. Installation Environment
The installation of Helmet PPF should be done within a temperature range of 15°-32°C (60°-90°F) to ensure the flexibility of the film and optimal adhesion. It should not be attempted under direct sunlight or in areas with potential contamination between the film and the car surface.
If the temperature is above 32°C (90°F):
- Allow the car to cool to the temperature of the installation booth
- Open the hood and allow the area under the hood to cool before installation
- Avoid installing the film under direct sunlight
If the temperature is below 15°C (60°F):
- Warm up the car inside the installation booth to at least 15°C (60°F) using infrared heaters if necessary
- Use warm water for both the mounting and alcohol (tack) solution. If the film slides too much, decrease the amount of soap.
- Verify that all edges are adhered well, using a heat gun to warm and dry any areas that may retain water. Do not overheat the film! Apply the air stream from the heat gun to your hand for 2-3 seconds and if it is too hot to handle, it will be too hot for the film as well
If the outside temperature is below freezing 0°C (32F)
- Follow recommendations for below 15°C (60°F) above for the installation process
- Warm up the film edges during the installation to ensure proper adhesion. Keep in mind that ‘warming the film’ does not mean ‘melting film to the car surface’. Do not overheat the film! Apply the air stream from the heat gun to your hand for 2-3 seconds and if it is too hot to handle– then it will be too hot for the film as well.
- A car with the film installed should not be moved outside for at least 12 hours after installation to ensure that water dries properly and the film anchors.
- If the outside temperature is below freezing it may be a good idea to keep the car under the infrared heaters overnight to ensure proper film drying/curing.
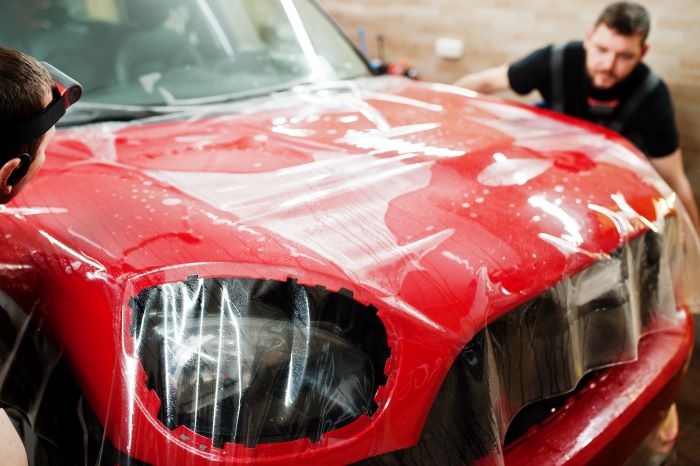
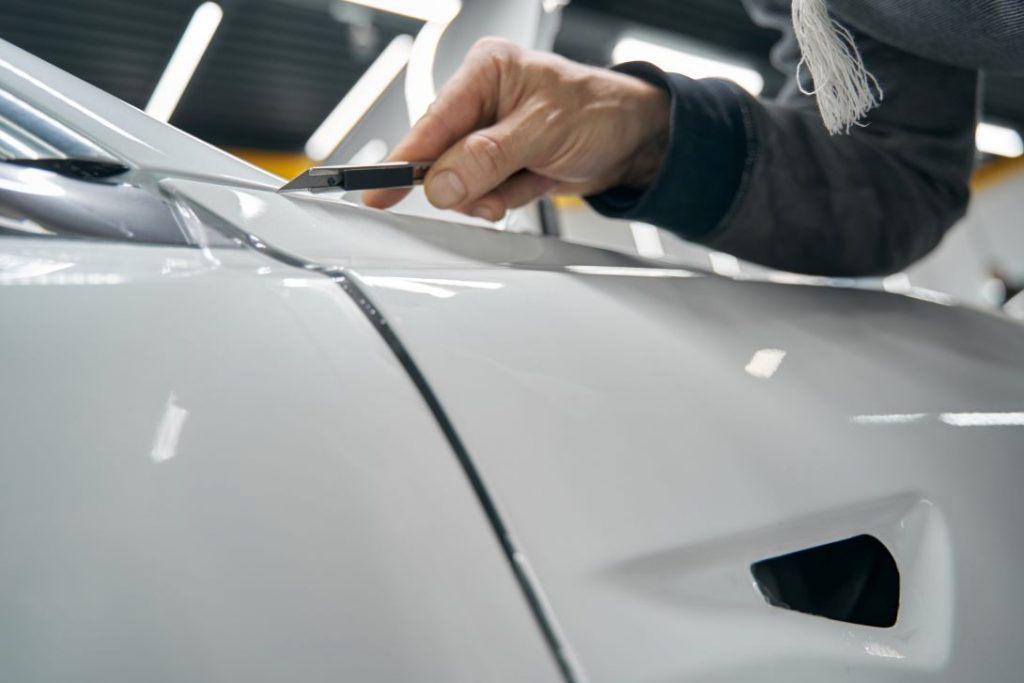
4. Installation
“The HELMET paint protection film is known for its ease of installation. It doesn’t require excessive stretching, as overstretching can cause lift-off and fingers at the edges.
Here are some general tips for installing LEGEND film on common car areas:
Hood:
- Apply a generous amount of soap and water solution under the film as you align it into position.
- Secure one side of the hood with tack solution by squeegeeing the water out towards the edge.
- Stretch the film towards the other side of the hood and lock it down by squeegeeing the water out. Be careful not to overstretch the film to prevent fingers from forming.
- Remove the water from under the hood by squeegeeing in overlapping strokes.
- Make sure not to move water towards the already secured area to prevent water bubble entrapment or adhesive deformation.
Bumper:
- Align the film on the bumper, temporarily tacking the corners to keep it in place.
- Identify the ideal alignment point in the center and secure it with alcohol solution.
- Avoid stretching the film in the center.
- Align the film around the grille and sensors, using minimal stretching, especially around sensors or cutouts to prevent fingers from forming.
- Remove the temporary tacks from the corners, gently stretch the film towards the wheel arches, and secure it in place with alcohol solution.
5. Installation Tricks
Fingerprints:
- To avoid leaving fingerprints during installation, keep your hands wet or wear gloves.
- If a fingerprint does appear on the adhesive surface, apply a soap solution to the affected area and gently rub until the print disappears.
Removing dirt/contamination from under the film:
- If possible, flip the film so that the adhesive side is up, spray the adhesive layer with soap and water solution and then wipe the contamination from adhesive while wet.
- If it’s not possible to flip the film, spray soap and water solution under the film and try to remove the contamination.
- Be careful not to rub the adhesive layer too vigorously, as it may leave a visible trace, especially on dark cars.
- Do not use alcohol (tack) solution to lift the film when removing contamination, as it can soften the adhesive and make it susceptible to damage.
Removing adhesive lines:
- To reduce the possibility of forming an adhesive line, lift the film without creating a straight edge on the adhesive. Instead, raise the film in a pocket shape while adding plenty of soap and water solution under the film.
- Use your squeegee to first move water towards the potential adhesive line and then squeegee the water from under the film.
- If you must lift the film for a significant amount of time, lift it until you reach a shape change on the hood. The adhesive line will be much less visible in that space.
Removing mars:
- To prevent mars, always keep the top of the film wet with a soap and water solution while smoothing out the film.
- If a mar does occur, wait 20 minutes and then use isopropyl alcohol and a microfiber cloth to remove it.
Water bubbles:
- Remove any water by smoothing out the film away from the areas where an alcohol (tack) solution was used.
- Attempting to remove water from adhered areas may result in bubbles. Bubbles that are 4-5mm in size may disappear on their own, but it’s best to remove all water from under the film.
- Large bubbles will likely turn into air pockets when drying.
- Bubbles can be removed by lifting and smoothing out the film or, if they are too far from the edge, by using a 1cc/1ml syringe.
Wrapping edges:
- When cutting the film for each area of the car, ensure that there is enough film to wrap around the edges to create a strong bond.
- Clean the areas where the film will be wrapped with pure alcohol and lint-free wipes, as these areas may be exposed to oily contamination.
- Adhesion promoters or primers, such as 3M’s Primer 94, can be used in these areas. However, do not use primer on the outside-facing surface as it may change the color over time.
How to prevent edges from lifting up
- To ensure the paint protection film’s edges stay adhered to the car, it’s important to thoroughly clean and prepare the edges before installation.
- Use pure alcohol and lint-free wipes to degrease the edges and make sure they are laying flat on the car’s surface without overhanging.
- For templates that aren’t designed for wrapping, keep the film’s edge at least 2mm away from where the body panel starts curving to the edge.
- Even after installation, wait for 1-2 hours for the film to fully adhere, and double check the edges in both warm and cold/rainy weather before returning the car to the customer.
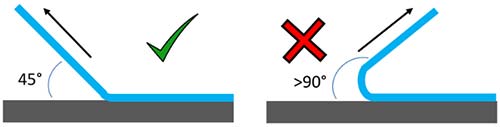
6. Removing the film
- When removing the film, gently pull it at a 45-degree angle towards yourself.
- Avoid pulling the film at a 90-degree angle or attempting to rip it off, as this can leave adhesive residue on the car’s paint.
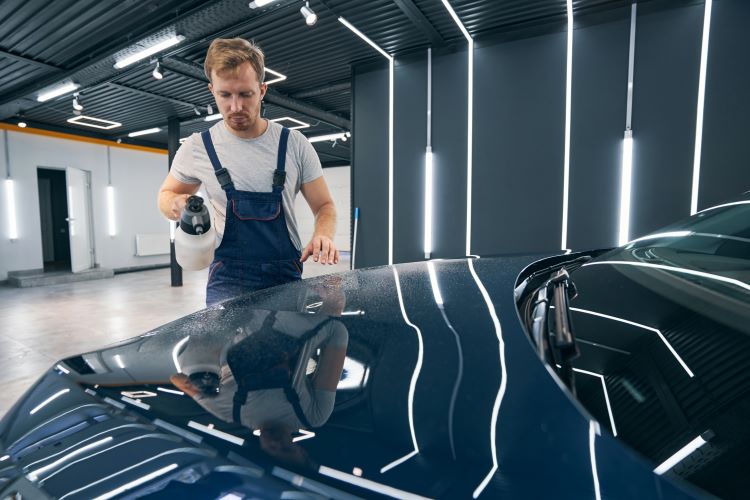
7. Recommended Cleaning and Care
Cleaning the HELMET Paint Protection Film
- After the film has been installed, it’s recommended to wait at least 3 days before washing the car to allow the film to fully cure.
- During the winter, this waiting period may need to be longer.
- Regular hand washing with soap and water is safe to use.
- Avoid using pressure washers or car washes that use handheld pressure washers, as they can cause the film to lift.
- If using such car washes, inform the employees that the car has paint protection film and make sure to keep the nozzle at least 45cm (1.5ft) away from the film surface.
- Waxing the glossy HELMET PPF with non-abrasive car wax is recommended at least twice a year to maintain its glossy look.
- When waxing HELMET PPF Matte, use only waxes recommended for matte surfaces.
- Ceramic coatings can be applied on top of HELMET films.
- Removing Bugs: Insects can be removed from HELMET film surfaces using regular car shampoo and a sponge, or with bug and tar removing shampoos. In difficult cases, allow the surface to soak for 15-20 minutes with the bug removing shampoo.
Recommended Care
- To remove dirt and excess wax that may collect at the edge of the film use isopropyl alcohol and a microfiber wipe to clean along the edges.
- To avoid film staining, clean the bird droppings, bugs and visible contaminates from the car on a regular basis.
- HELMET paint protection film contains a unique topcoat protecting it from staining and discoloration. However, if cleaning and care instructions are ignored or if the film was exposed to extremely staining chemicals a slight discoloration may occur.
- To recover the original clear appearance, use mild abrasive wax/polishing compound to the surface until the stain is not visible.
- We do not recommend repeating the use of abrasive wax/polishing more often than once every two years as it will eventually remove the topcoat from the film.
- Only polish the vehicle with abrasive compounds when absolutely necessary.